Running Intel Python on M1
Following these instructions should enable you to have both arm and intel python installed and ready to use.
You should run everything you can with arm version of python. Only use the intel version if you are having trouble.
If you've previously tried installing python with any other method, be sure to fully remove it.
We'll start setting up our arm and intel environments by setting up a Rossetta-Terminal, which runs on intel. Follow the Create a Rosetta Terminal{:target="_blank"} tutorial.
Python3 ARM Installation
These two steps must be run in the regular Terminal (arm)
- Install brew{:target="_blank"} in Terminal.
/bin/bash -c "$(curl -fsSL https://raw.githubusercontent.com/Homebrew/install/HEAD/install.sh)"
- Install python3 running
brew install python3.
Hombrew keeps
x86binaries in/usr/localand uses/opt/homebrewfor theirARMbinaries.
Python3 Intel Installation
All the steps below should be run in Rosetta-Terminal
- Install brew{:target="_blank"} in Rosetta-Terminal.
- Create alias in
~/.zprofilefor intel brewalias ibrew='arch -x86_64 /usr/local/bin/brew'. Your~/.zprofileshould look like this.
eval "$(/opt/homebrew/bin/brew shellenv)"
alias ibrew='arch -x86_64 /usr/local/bin/brew'
- Load alias running
source ~/.zprofile
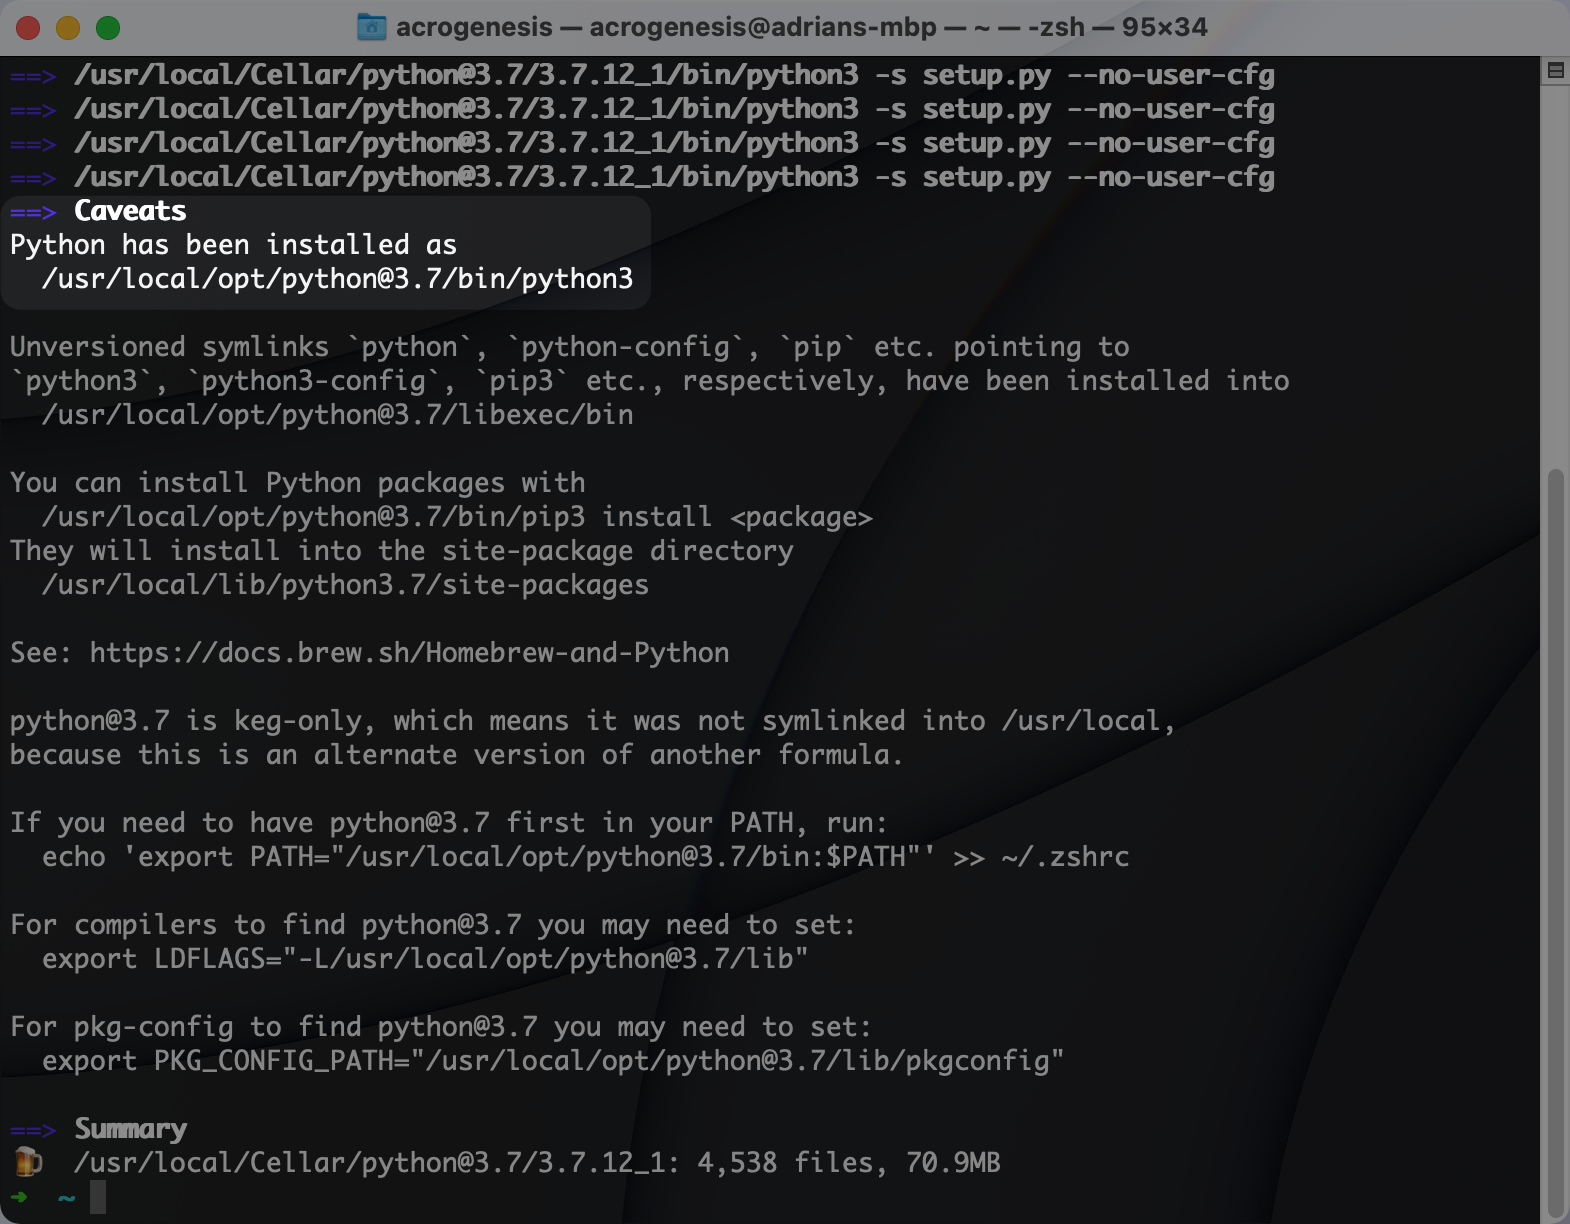
- Install intel python3
ibrew install python3
You can specify a version like this:
This previous step will give you where python is installed, e.g. /usr/local/opt/[email protected]/bin/python3
You should now have installed both arm and intel versions of python. Whenever you need to use intel python, be sure to open the Rosetta-Terminal and load the intel python. For example, if you use pipenv for managing virtual envs and packages, run this in your project folder:
comments